


Build Affordable Garage Shelving: Your DIY Workflow Guide
TL;DR:
- Building affordable garage shelves with 2x4 lumber and plywood saves money and results in more durable storage.
- Wall mounting with lag bolts into wall studs provides the strongest support, while proper planning and precise construction steps prevent failure.
A build affordable garage shelving workflow is a step-by-step system for constructing sturdy, low-cost shelving units using 2x4 lumber, plywood sheets, and basic hand tools. DIY garage shelves built this way cost roughly $140–$200 for an 8-foot unit, compared to $350–$500 for store-bought equivalents. That gap is real money back in your pocket. The process is straightforward enough for a first-time builder, and the result is a shelf that fits your exact space and holds exactly what you need.
What tools and materials do you need for affordable garage shelving?
The right materials make or break a budget build. For a standard 8-foot unit, you need 2x4 lumber for the frame, 3/4-inch plywood sheets for the decking, and 3-inch wood screws or lag bolts for fastening. Kiln-dried lumber costs a few dollars more per board but resists warping far better than green lumber. That extra investment pays off in a shelf that stays flat and square for years.
Your tool list does not need to be expensive:
- Circular saw for cutting lumber and plywood to length
- Drill and driver for fastening screws and lag bolts
- Level (4-foot minimum) for checking horizontal and vertical alignment
- Stud finder for locating wall studs before mounting
- Tape measure for accurate cuts
- Speed square for checking 90-degree angles during assembly
- Clamps to hold pieces in place while fastening
Pro Tip: Buy kiln-dried 2x4s even if they cost slightly more. Wet or green lumber will twist and warp as it dries, pulling your shelf out of square within months.
The material cost advantage is significant. DIY lumber shelving runs 60–70% less than commercial units of the same size. That means a two-unit garage wall costs you roughly $300–$400 instead of $700–$1,000 at a big-box store.
How do you build the shelving unit structure step by step?
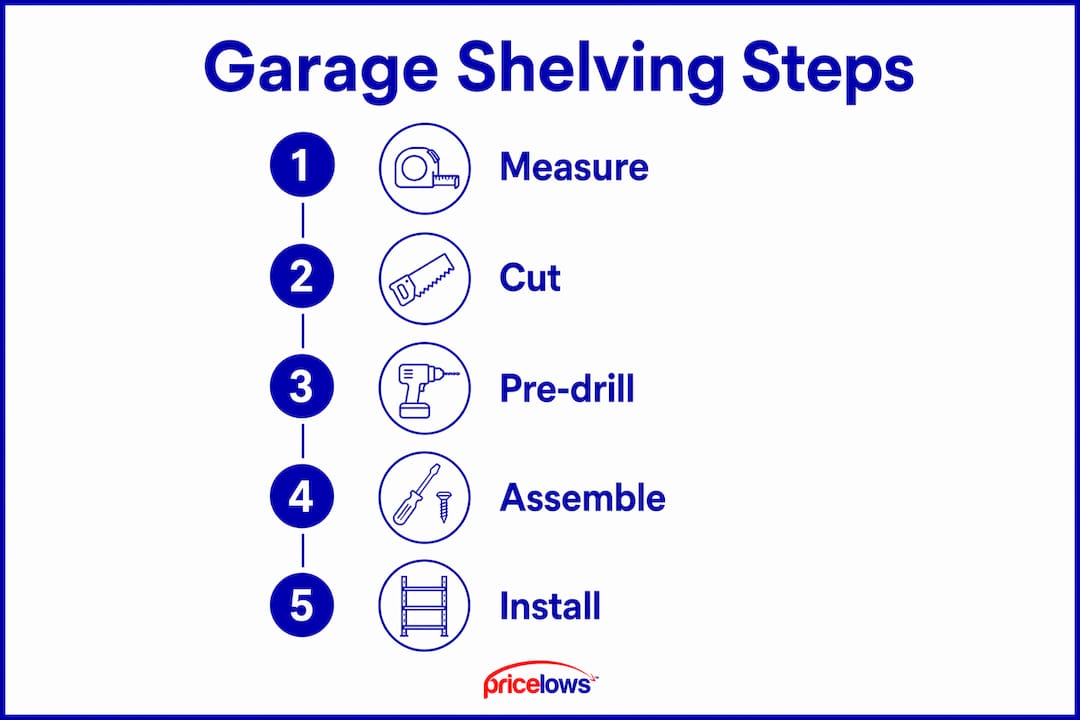
The construction method used by experienced builders is the ladder-frame system. Building two ladder-style frames connected by horizontal cross braces creates a rigid box that resists racking and tipping. This box structure holds 300–500 lb per shelf when built correctly. Follow these steps in order.
-
Cut your lumber. Measure and cut vertical uprights to your desired shelf height. Cut horizontal stretchers to your desired shelf depth. Keep cuts square by using a speed square as a guide against your circular saw fence.
-
Build the two ladder frames. Lay two uprights flat on the ground. Attach horizontal stretchers between them at each shelf height using two screws per joint. Repeat for the second ladder frame. Each frame looks like a ladder on its side.
-
Connect the frames with cross braces. Stand both ladder frames upright and parallel. Connect them with horizontal cross braces at each shelf level. This turns two flat ladders into a three-dimensional box.
-
Check for square. Measure the diagonal distance from corner to corner in both directions. Measuring opposite diagonals before securing plywood is the only reliable way to catch a racked frame. If the measurements differ, push the longer diagonal corner gently until both measurements match.
-
Install the plywood decking. Cut 3/4-inch plywood to fit each shelf bay. Pre-drill holes before driving screws to prevent splitting. Fasten the plywood to each stretcher with screws spaced every 8–10 inches.
-
Level the completed unit. Set the unit in its final position. Check for level front-to-back and side-to-side. Shim the feet as needed before anchoring to the wall.
Pro Tip: Pre-drill every screw hole, especially near the ends of 2x4s. Skipping this step splits the wood and weakens the joint significantly.
An experienced builder completes an 8-foot unit in 4–6 hours. Beginners should plan for 8–10 hours. Budget a full weekend and you will not feel rushed.
What are the best methods for installing and securing garage shelves?
Installation is where most DIY shelves fail. The strongest and most affordable mounting method uses lag-bolted ledger boards attached directly to unfinished garage wall studs. A 16-foot wall run costs $50–$150 in hardware and outperforms most commercial units in load capacity. The ledger transfers shelf weight directly into the wall framing rather than relying on the shelf structure alone.
Wall type changes your approach. Here is a direct comparison:
| Method | Best for | Pros | Cons |
|---|---|---|---|
| Wall-mounted with ledger | Unfinished stud walls | Strongest support, low cost | Requires stud access |
| Wall-mounted with anchors | Finished drywall | Works on any wall | Lower load capacity |
| Freestanding unit | Rental or temporary use | No wall damage | Less stable long-term |
Freestanding metal racks are easy to assemble but more prone to failure than wall-mounted DIY units. Wall-mounted shelving distributes weight across studs for far greater durability. For permanent garage storage, wall mounting is the right choice.
Two more installation rules matter for safety and longevity:
- Keep shelves off bare concrete. Avoid direct contact with concrete floors by using pressure-treated lumber for bottom rails or placing rubber pads under the feet. Elevating the shelf by at least 1/4 inch prevents moisture from wicking into the wood and causing decay.
- Store heavy items low. Heavy items belong on the lowest shelves to prevent dangerous top-heaviness. Lighter seasonal bins and rarely used items go on higher shelves.
What mistakes should you avoid when building garage shelves?
Most failed DIY shelves share the same handful of errors. Catching them early saves you from rebuilding.
- Skipping the square check. Once plywood is screwed down, a racked frame cannot be fixed without disassembly. Check diagonals before every sheet goes down.
- Not pre-drilling. Driving screws directly into dry 2x4 ends splits the wood and creates weak joints. Pre-drill every hole.
- Ignoring load distribution. Overloading upper shelves shifts the center of gravity upward. A top-heavy unit tips with very little force.
- Inaccurate cuts. A 1/4-inch error in a stretcher length throws the whole frame out of alignment. Measure twice, cut once.
- Skipping wall anchoring. A tall freestanding unit in a garage can tip if bumped by a car door or a child. Anchor every unit taller than 5 feet to the wall.
A shelf that is built fast and falls apart costs you twice. Build it right the first time and it will outlast the house.
Shimming is your best friend for fixing uneven floors. Cut small cedar shims and slide them under the feet until the unit sits level and solid. Then anchor to the wall.
Key takeaways
Building affordable garage shelving with 2x4 lumber and plywood saves 60–70% over commercial units while delivering stronger, longer-lasting storage when installed correctly.
| Point | Details |
|---|---|
| Cost advantage is real | DIY 2x4 shelving costs $140–$200 vs. $350–$500 for store-bought units. |
| Ladder frames prevent racking | Build two ladder frames, connect with cross braces, and check diagonals before decking. |
| Wall mounting beats freestanding | Lag-bolted ledger boards into studs provide the strongest and most affordable support. |
| Protect from moisture | Use pressure-treated lumber or rubber pads to keep shelves off bare concrete. |
| Load distribution matters | Store heavy items on the lowest shelves to prevent tipping and improve safety. |
Why I build shelves before I buy them
Thane Holland
Every time I walk into a big-box store and see a $400 wire rack labeled “garage shelving,” I think about the $160 I spent building a better unit last spring. The wire rack wobbles. Mine does not. That difference comes down to one thing: a rigid box frame built from 2x4s holds weight the way wire never will.
The part most beginners underestimate is planning. Before I cut a single board, I sketch the wall, note the stud locations, and decide exactly what goes on each shelf. That 20-minute planning session eliminates 80% of the problems I see in failed builds. People skip it because they want to start cutting. Do not skip it.
My honest advice for first-timers: give yourself a full weekend, not an afternoon. The 8–10 hour estimate for beginners is accurate. Rushing the square check or the pre-drilling is how you end up with a shelf that wobbles from day one. Slow down on those two steps and the rest goes fast.
— Thane Holland
Upgrade your garage storage with PriceLows™
Your new DIY shelves are the foundation. The right accessories turn them into a fully organized garage system.

PriceLows™ carries a full range of affordable garage storage products to complement your build. Pair your new shelves with a black metal storage cabinet for locking away tools and valuables. Add collapsible storage bins to keep seasonal items labeled and stacked neatly on your new shelves. For small parts and hand tools, pegboard cup organizers mount directly above your workbench and keep everything visible. PriceLows™ offers free shipping and a 100% shipping protection plan on every order, so you can stock up without worry.
FAQ
How much does it cost to build DIY garage shelves?
A standard 8-foot DIY garage shelving unit built from 2x4s and plywood costs $140–$200 in materials. That is 60–70% less than comparable commercial units priced at $350–$500.
How long does it take to build garage shelves?
Experienced builders finish an 8-foot unit in 4–6 hours. Beginners should plan for 8–10 hours, and complex designs can take up to 12–15 hours.
What is the strongest way to mount garage shelves?
Lag-bolted ledger boards attached to unfinished wall studs provide the strongest and most affordable support. This method distributes weight directly into the wall framing.
Can I build garage shelves on a concrete floor?
You can, but the shelf frame must not sit directly on bare concrete. Use pressure-treated lumber for bottom rails or place rubber pads under the feet to prevent moisture damage.
How much weight can DIY 2x4 garage shelves hold?
A properly built ladder-frame box structure holds 300–500 lb per shelf. Correct cross bracing and wall anchoring are required to reach that capacity safely.