


How to Pick the Right Garage Flooring in 2026
TL;DR:
- Choosing the right garage flooring depends on your usage, budget, and installation preferences.
- Durable options include epoxy, polyaspartic coatings, interlocking tiles, rubber, and polished concrete, each suited for different needs.
Garage flooring is a durable surface system that protects your concrete slab from vehicle weight, chemical spills, and daily wear. Knowing how to pick the garage flooring that fits your space means understanding four core material categories: coatings such as epoxy and polyaspartic, polished concrete, interlocking tiles, and rubber flooring. Each option carries different costs, installation demands, and performance profiles. The right choice depends on how you use your garage, your budget, and whether you plan to install it yourself or hire a pro.
What are the main types of garage flooring materials?
The garage floor material guide starts with coatings, tiles, rubber, and polished concrete. Each category solves a different problem.
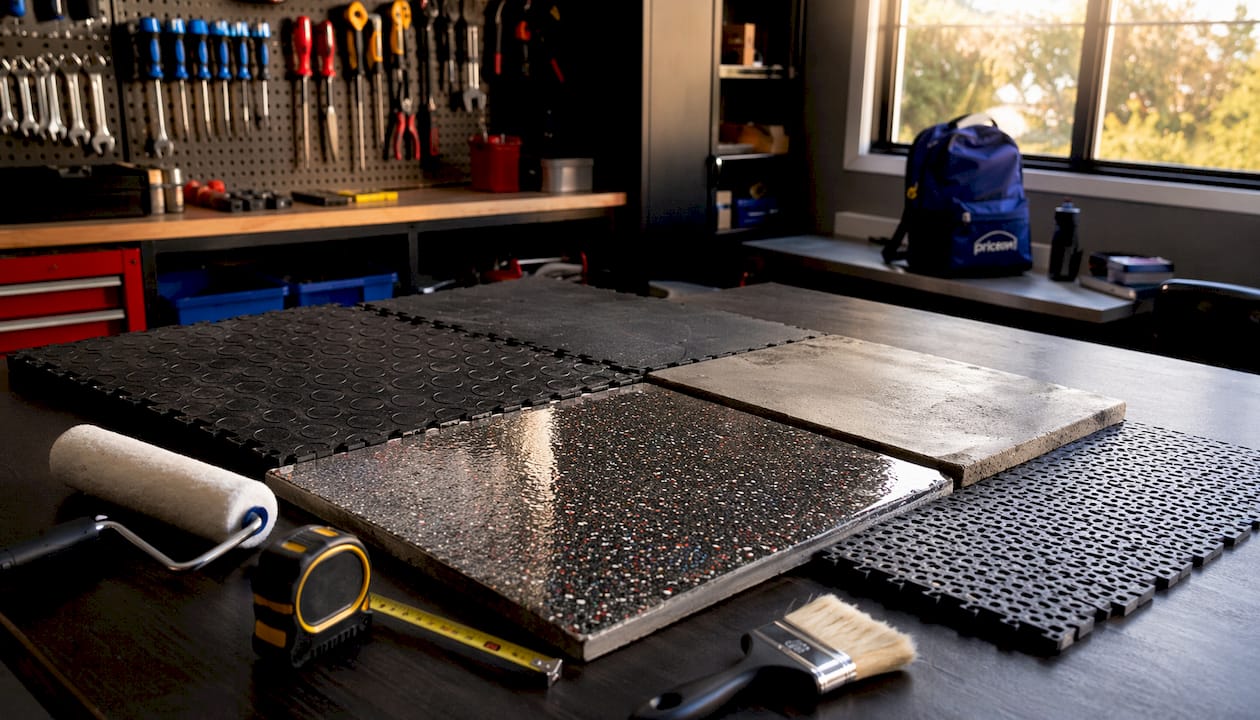
Polyaspartic coatings are the premium option. Vehicles can drive on polyaspartic floors 1–4 hours after application. That fast cure time makes them ideal when you cannot afford days of downtime. They also deliver superior UV stability and hot-tire resistance, but they require professional installation.
Epoxy coatings are the most popular choice for DIY homeowners. 100% solids epoxy resists hot-tire pickup and chemical damage far better than water-based kits. Applied correctly at 60°F–90°F, a 100% solids epoxy floor lasts roughly 10 years.
Interlocking tiles need to zero surface preparation. Loop-and-peg interlock systems provide better structural integrity under vehicle loads than snap-edge types. Polypropylene tiles handle temperature extremes better than recycled blends, making them reliable in cold climates.
Rubber flooring suits workout spaces and workshops. A 3/8-inch thickness works well for general mixed-use garages, while 1/2 to 3/4 inch absorbs impact for heavy lifting areas.
Polished concrete works when your slab is already in good shape. It is hot-tire-proof and economical, though it shows stains more easily than coated surfaces.
| Material | Installation | DIY Friendly | Price Range (per sq ft) |
|---|---|---|---|
| Polyaspartic coating | Professional only | No | $5–$12 |
| 100% solids epoxy | Moderate prep required | Yes, with effort | $3–$8 |
| Interlocking tiles | No prep needed | Yes | $2.50–$8 |
| Rubber flooring | Simple lay-and-cut | Yes | $1.50–$4 |
| Polished concrete | Specialist required | No | $3–$8 |
Pro Tip: Avoid water-based epoxy kits sold at big-box stores. They look DIY-friendly but regularly fail the hot-tire test within one to three years.
How do usage needs and garage conditions affect your choice?
Your garage’s primary function is the single biggest factor in selecting the right floor. A parking-only garage has very different demands than a home gym or woodworking shop.
Heavy equipment and free weights require thicker rubber or a solid coating. A parking space with daily vehicle traffic needs hot-tire resistance, which rules out water-based epoxy and basic snap-edge tiles. A workshop benefits from anti-fatigue rubber mats or a sealed epoxy floor that cleans up easily.
Moisture and temperature swings threaten every flooring material’s longevity. High humidity causes coatings to lose adhesion and tiles to shift. Before you install anything, test your slab for moisture by taping a plastic sheet to the floor for 24 hours. If condensation forms underneath, you need a moisture-tolerant product or a vapor barrier first.
Consider these usage-based factors before choosing:
- Parking only: Prioritize hot-tire resistance and chemical resistance. Choose 100% solids epoxy or polyaspartic.
- Home gym: Choose rubber flooring at 3/8 inch minimum, 3/4 inch for heavy lifting.
- Workshop or hobby space: Epoxy or interlocking tiles both work. Tiles let you replace damaged sections easily.
- Multi-use garage: Interlocking tiles give you flexibility. You can reconfigure zones without replacing the whole floor.
Pro Tip: Walk your garage and note where oil stains, cracks, or damp spots appear. Those problem areas tell you exactly what prep work and material properties you need before you spend a dollar.
What do garage flooring costs and installation look like?
Garage flooring costs in 2026 range from $1,200 for a DIY epoxy project in a two-car garage up to $5,000 for a professional polyaspartic install. That wide range reflects the gap between material quality and labor intensity.
Surface preparation drives most of the cost difference. Slab preparation accounts for 80% of finish quality. Mechanical grinding opens concrete pores for a strong bond. Chemical acid etching is cheaper but leaves oil and sealer residue that causes peeling within 24 months. Professionals spend more time grinding than coating, and that labor shows up in the final price.
Curing time affects how long your garage stays out of service. Polyaspartic floors cure in 1–4 hours. Standard epoxy needs 24–72 hours before foot traffic and up to seven days before vehicle use. Interlocking tiles are usable immediately after installation.
Common DIY mistakes that lead to early failure:
- Skipping moisture testing before coating
- Using water-based epoxy in a parking garage
- Applying coatings outside the 60°F–90°F temperature window
- Driving on epoxy before the full cure time
For a DIY garage flooring project, budget for a concrete grinder rental, degreaser, primer, and two coats of 100% solids epoxy. That investment pays off in a floor that lasts a decade.
How to plan and execute your garage flooring project step by step
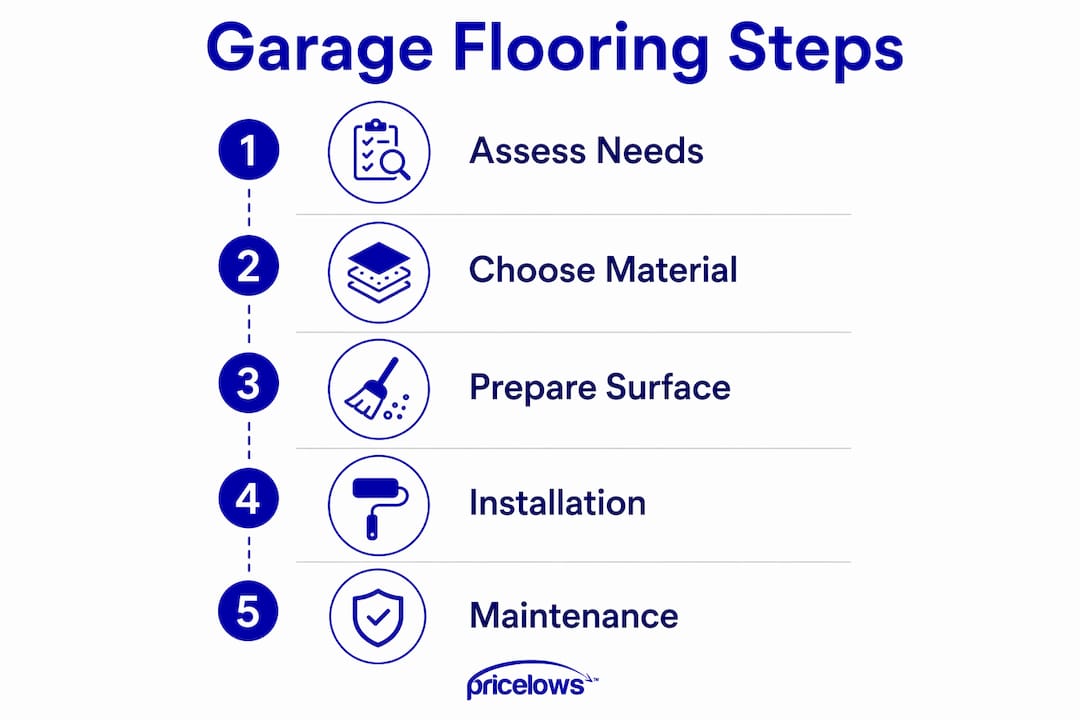
A successful garage floor project follows a clear sequence. Skipping steps is the most common reason floors fail early.
- Clear and clean the garage. Remove everything from the floor. Degrease all oil stains with a concrete degreaser and let the slab dry completely.
- Test for moisture. Tape a 2-foot plastic sheet to the slab for 24 hours. Moisture under the sheet means you need a moisture-tolerant primer or a different material.
- Prepare the surface. Rent a concrete grinder for coatings. Mechanical grinding outperforms acid etching for removing oil and sealers. For tiles or rubber, sweep and vacuum only.
- Repair cracks and holes. Fill cracks with a concrete patching compound and let it cure fully before proceeding.
- Apply primer or lay your base layer. For epoxy, apply a primer coat and let it tack. For tiles, start in a corner and work outward. For rubber, cut to fit and lay flat.
- Apply finish coats or complete the tile field. Follow manufacturer temperature and humidity guidelines exactly.
- Respect the cure time. Do not rush foot traffic or vehicle access. Early traffic is the top cause of coating failure.
Getting quotes from two or three professional installers before committing to a DIY epoxy project is worth the time. A professional polyaspartic install often costs less than a failed DIY epoxy job that needs stripping and redoing.
Pro Tip: Check your local weather forecast before scheduling a coating project. Humidity above 85% or temperatures outside the 60°F–90°F range will compromise adhesion, even with premium products.
For guidance on moisture-resistant garage materials, PriceLows™ covers the key options homeowners face when dealing with damp slabs.
Key Takeaways
Choosing the right garage floor comes down to matching your material to your usage, preparing the slab correctly, and respecting cure times before putting the floor to work.
| Point | Details |
|---|---|
| Match material to use | Parking needs hot-tire resistance; gyms need thick rubber; workshops benefit from easy-clean epoxy. |
| Prep is everything | Mechanical grinding beats acid etching and prevents peeling within the first two years. |
| Budget realistically | A two-car garage costs $1,200 DIY to $5,000 for professional polyaspartic in 2026. |
| Cure time matters | Epoxy needs up to seven days for vehicles; polyaspartic allows traffic in 1–4 hours. |
| Test moisture first | A 24-hour plastic sheet test prevents adhesion failure before you spend on materials. |
What I have learned from watching garage floors fail
Thane Holland here. After years of covering home improvement projects and talking to homeowners who have redone their garage floors twice, one pattern stands out. The floor did not fail because of the product. It failed because of what happened before the product went down.
The biggest mistake I see is homeowners buying a $100 water-based epoxy kit and calling it done. Water-based kits fail hot-tire resistance and peel within one to three years. That is not a product defect. That is a category mismatch. Water-based epoxy was never designed for a parking surface.
My honest recommendation: if you park a vehicle in your garage, spend the extra money on 100% solids epoxy or get a professional polyaspartic quote. Polyurea and polyaspartic coatings last 15–20 years with proper prep. That lifespan changes the math on cost completely.
If you are not ready to commit to a coating, interlocking tiles are a genuinely good alternative. They are not a compromise. They are a different tool for a different job, and they let you upgrade later without stripping anything.
— Thane Holland
Complete your garage with storage from PriceLows™
A fresh garage floor deserves an organized space to match. PriceLows™ carries a full range of garage storage solutions built to sit cleanly on any new floor surface.

The rolling tool cabinet from PriceLows™ features a powder-coated, rust-resistant finish and a lockable steel chest. It rolls smoothly on any flat surface, including epoxy, tile, and rubber floors. For a complete setup, the 6-piece garage cabinet set includes a rubberwood worktop, pegboard, rolling chests, and lockers. PriceLows™ ships every order free with a 100% shipping protection plan, so your storage arrives ready to use.
FAQ
What is the best garage flooring for a two-car parking space?
100% solids epoxy or polyaspartic coating is the best choice for a parking garage. Both resist hot-tire pickup and chemical spills, which are the two most common causes of floor failure in parking spaces.
How long does epoxy garage flooring last?
A properly prepared 100% solids epoxy floor lasts approximately 10 years. Floors coated with water-based kits typically peel within one to three years due to poor hot-tire and chemical resistance.
Can I install garage flooring myself?
Interlocking tiles and rubber flooring are the most DIY-friendly options because they require no surface preparation. Epoxy is manageable for experienced DIYers who rent a concrete grinder and follow temperature and cure-time guidelines strictly.
What garage flooring works best in cold climates?
Polypropylene interlocking tiles with loop-and-peg interlock systems handle temperature extremes better than recycled blends. Polyaspartic coatings also remain flexible under temperature variation, making both solid choices for cold-weather garages.
How much does a garage floor coating cost in 2026?
Coating costs range from $3 to $12 per square foot depending on material. A full two-car garage project runs from about $1,200 for a DIY epoxy install to $5,000 for a professional polyaspartic application.