


Teach Kids Woodworking: A Parent's Practical Guide
TL;DR:
- Teaching kids woodworking involves using age-appropriate tools, safe habits, and purposeful projects. Starting early with simple activities builds confidence, coordination, and basic STEM skills. Safety glasses, an organized workspace, and adult demonstration foster lifelong safety habits and engagement.
Teaching kids woodworking means giving children real tools, structured projects, and safety habits that build confidence, creativity, and foundational STEM skills. The craft, formally called hand tool woodworking at the beginner level, follows a clear developmental progression from ages 2 through 12 and beyond. Parents and educators who start early and stay consistent produce children who can measure, plan, and build with their own hands. Safety glasses, pine lumber, and age-matched tools are the three non-negotiables that make the whole process work.
What tools and materials work best to teach kids woodworking?
The right tool at the wrong age creates frustration and risk. Age-based progression starts with observation at ages 2–3, moves to basic hand tool use at ages 4–6, and reaches independent project work at ages 7–12. That structure matters because children’s grip strength, coordination, and attention span all develop at different rates.
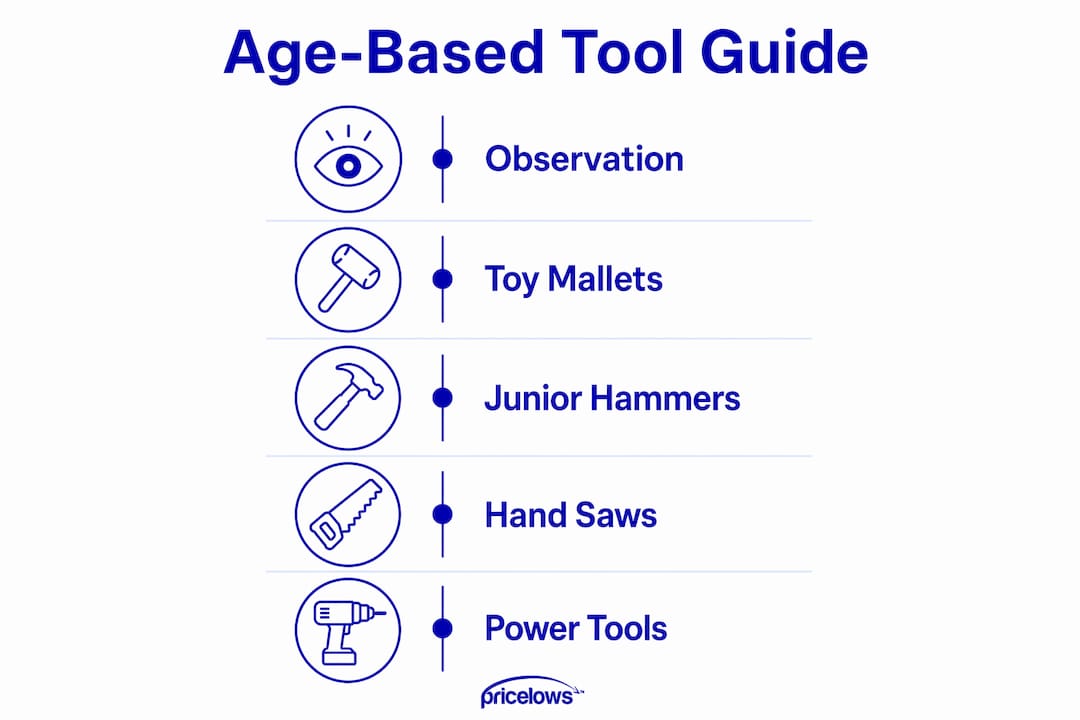
| Age Range | Recommended Tools | Best Materials |
|---|---|---|
| 2–3 years | Observation only, toy mallets | Scrap wood blocks |
| 4–6 years | 200g claw hammer, sandpaper | Soft pine, balsa |
| 7–9 years | Hand saw, screwdriver, manual drill | Pine boards, plywood |
| 10–12 years | Coping saw, hand drill, clamps | Pine, poplar |
Pine is the go-to beginner wood for children because its Janka hardness rating of 380 lbf makes it easy to cut, sand, and nail without excessive force. It also costs around $3 per board foot, which keeps the learning process affordable. Power tools should wait until around age 10, since hand tools build safer muscle memory and give children better tactile feedback as they work.
Pro Tip: Buy a stubby or junior hammer for kids ages 4–6. A lighter head reduces wrist fatigue and gives children more control over each swing.
How do you create a safe woodworking space for children?
A safe workshop is not just about removing hazards. It is about building habits that children carry for life. Safety glasses are non-negotiable from age 2 onward, and modeling their use every single time you pick up a tool teaches children to treat protective gear as normal, not optional.
A child-height workbench with a vise or clamps keeps wood stable during cutting and nailing. Unstable workpieces cause slips, and slips cause injuries. A well-organized pegboard or bin system for tools reduces hazards and teaches children where every tool lives before and after use.
A clean shop is not just tidy. It is the first safety tool you install. When every chisel and hammer has a home, children learn to account for each one, and nothing ends up underfoot or on an edge where it can fall.
Key safety habits to build from day one:
- Always wear safety glasses before touching any tool.
- Stop the session when a child shows signs of fatigue or frustration.
- Ease every sharp edge on cut wood pieces before handling, a technique called edge easing.
- Model proper grip and posture rather than describing it verbally.
- Store all tools in a locked cabinet when the session ends.
Pro Tip: Label each tool’s spot on the pegboard with a marker outline. Children can match tools to their outlines at cleanup, turning organization into a game.
What are the best beginner woodworking projects for kids?
Projects are the engine of motivation. A child who builds something real will ask to come back to the workshop. Simple projects like sanding scrap wood and making birdhouses teach basic skills and engage children creatively, serving as stepping stones to more complex builds.
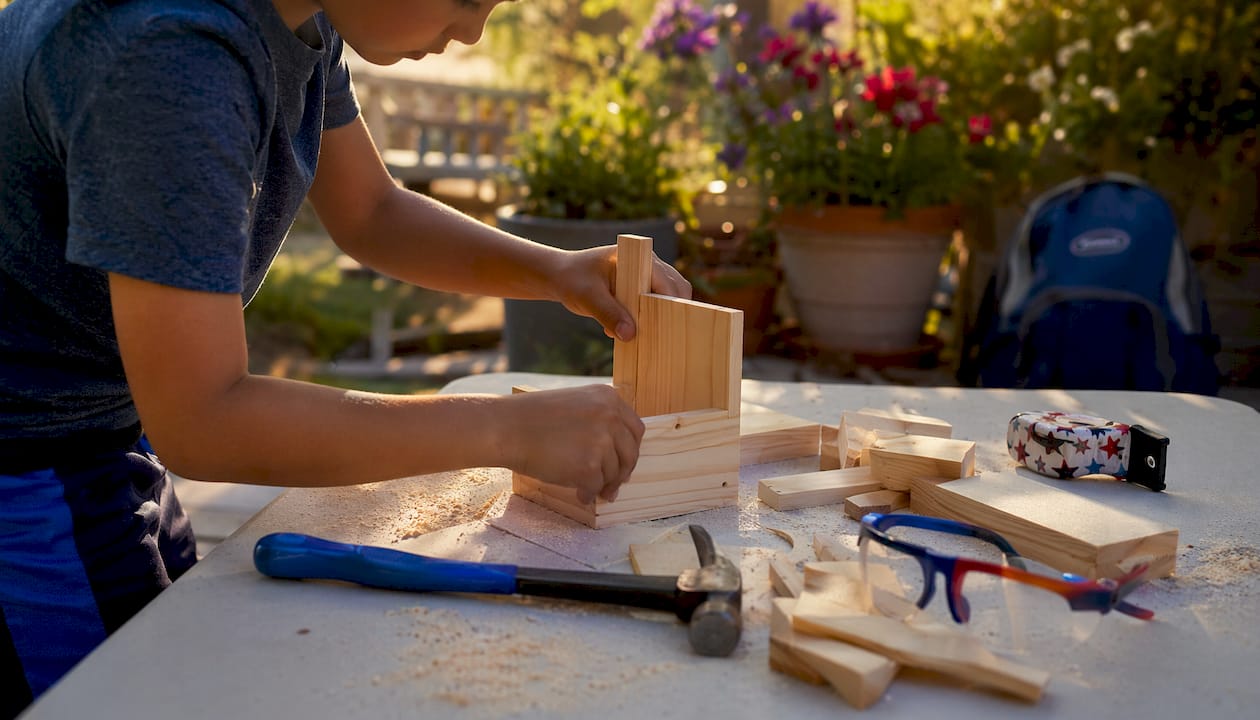
Beginner projects for ages 4–6: sanding blocks, glue sculptures from scrap wood, and hammer practice boards where children drive nails into a pine plank.
Intermediate projects for ages 7–12: birdhouses, pencil holders, simple boxes with lids, and small shelves. These projects introduce measuring, marking, and basic joinery concepts like butt joints held with wood glue and nails.
Here is how to build a simple pencil holder with a child ages 7–9:
- Cut four pine boards to the same height using a hand saw with adult guidance.
- Sand all edges smooth, paying extra attention to corners.
- Arrange the boards into a square and mark where they will join.
- Apply wood glue to each joint and press the boards together firmly.
- Drive two nails into each corner joint for added strength.
- Let the glue cure for at least one hour before handling.
- Sand the finished holder lightly and let the child decorate it.
Woodworking builds mathematical reasoning, patience, and persistence when children measure cuts, count nails, and plan sequences. Those are real STEM skills dressed up as fun.
How do you effectively teach woodworking skills and safety to children?
The most effective teaching method is physical demonstration, not verbal instruction. Modeling proper grip and posture is more effective than explaining it, because children learn by watching and copying. Show the motion, hand over the tool, and guide their hands if needed.
Core teaching strategies that work:
- Introduce one new tool per session so children are not overwhelmed.
- Frame every mistake, including a crooked nail, as information rather than failure.
- Give children ownership of a personal project from start to finish.
- Teach tool respect by having children name each tool and explain its purpose before using it.
- End every session before fatigue sets in. Physical fatigue is the top cause of woodworking accidents in children.
Kids woodworking classes taught by professionals typically run 55 minutes and cover safety, tool identification, and basic joinery without any power tools. That session length is a useful benchmark for home workshops too. Keeping sessions under an hour preserves focus and prevents the fatigue that leads to accidents.
Pro Tip: Let children choose their own project from a short list of options. Ownership of the decision increases commitment to finishing the work.
A well-planned garage workbench setup designed for family use makes all of these strategies easier to execute consistently.
Key Takeaways
Teaching kids woodworking successfully requires age-matched tools, a safe and organized workspace, purposeful projects, and a teaching approach built on demonstration rather than instruction alone.
| Point | Details |
|---|---|
| Start with age-appropriate tools | Use a 200g hammer for ages 4–6 and hand saws from ages 7–9 onward. |
| Choose pine for beginners | Pine’s low hardness and low cost make it the best first wood for children. |
| Safety glasses from day one | Model protective gear use every session to build lifelong safety habits. |
| Projects drive motivation | Purposeful builds like birdhouses and pencil holders teach measuring and planning. |
| Stop before fatigue hits | Physical tiredness is the leading cause of woodworking accidents in children. |
Why I think most parents start woodworking with kids the wrong way
Most parents wait too long and then start too big. They hold off until a child is eight or nine, then hand over a project that requires ten steps and three tools at once. The child gets frustrated, the parent gets anxious, and the whole thing gets shelved.
What actually works is starting absurdly small. A four-year-old driving nails into a pine board is doing real woodworking. That repetition builds grip strength, hand-eye coordination, and confidence before anything more complex enters the picture. I have seen children who started with nothing but a hammer and a scrap board become genuinely capable builders by age ten.
The other thing parents underestimate is the power of letting a project look imperfect. A crooked birdhouse that a child built herself is worth more than a perfect one an adult corrected. The visible evidence of her own work is what brings her back to the bench next weekend. Patience with imperfection is the most important skill you bring to the workshop, not any tool.
— Thane Holland
Tools and storage that support a family woodworking space
Setting up a safe workshop at home does not require a professional budget. The priority is keeping sharp tools locked away from small children between sessions and having a dedicated workspace that stays organized.

PriceLows™ carries a rolling lockable tool cabinet built from powder-coated steel that keeps chisels, saws, and drill bits secured when the workshop is not in use. For families who need more capacity, the 6-piece garage cabinet set includes a rubberwood worktop, pegboard, and rolling chests in one complete package. PriceLows™ offers free shipping and a 100% shipping protection plan on every order, so your setup arrives ready to use.
FAQ
What age can kids start woodworking?
Children can begin woodworking through observation and simple mallet play at ages 2–3. Supervised hand tool use with a light hammer starts around age 4.
What is the safest wood for beginner woodworking projects?
Pine is the safest and most practical choice for beginners. Its low hardness makes it easy for children to cut and nail without excessive force.
Do kids need safety glasses for woodworking?
Yes. Safety glasses are required from the very first session, regardless of age. Modeling their use every time builds the habit automatically.
How long should a woodworking session be for children?
Professional kids woodworking classes run about 55 minutes. Keeping home sessions under one hour prevents the physical fatigue that causes most accidents.
When can kids use power tools?
Power tools are appropriate starting around age 10. Before that, hand tools build better muscle memory, control, and tactile awareness.